1
Download the App
Before you can start customizing your QPIN, you'll need the QPIN Connect app. Use it to upload GIFs, images, and messages straight to your pin.
Get the app
iOS
Download QPIN Connect on the App Store
Android
Coming Soon!
2
Waking Up Your QPIN
Your QPIN was shipped in Deep Sleep mode to preserve battery. Wake it up before pairing it with the app.
Wake it up
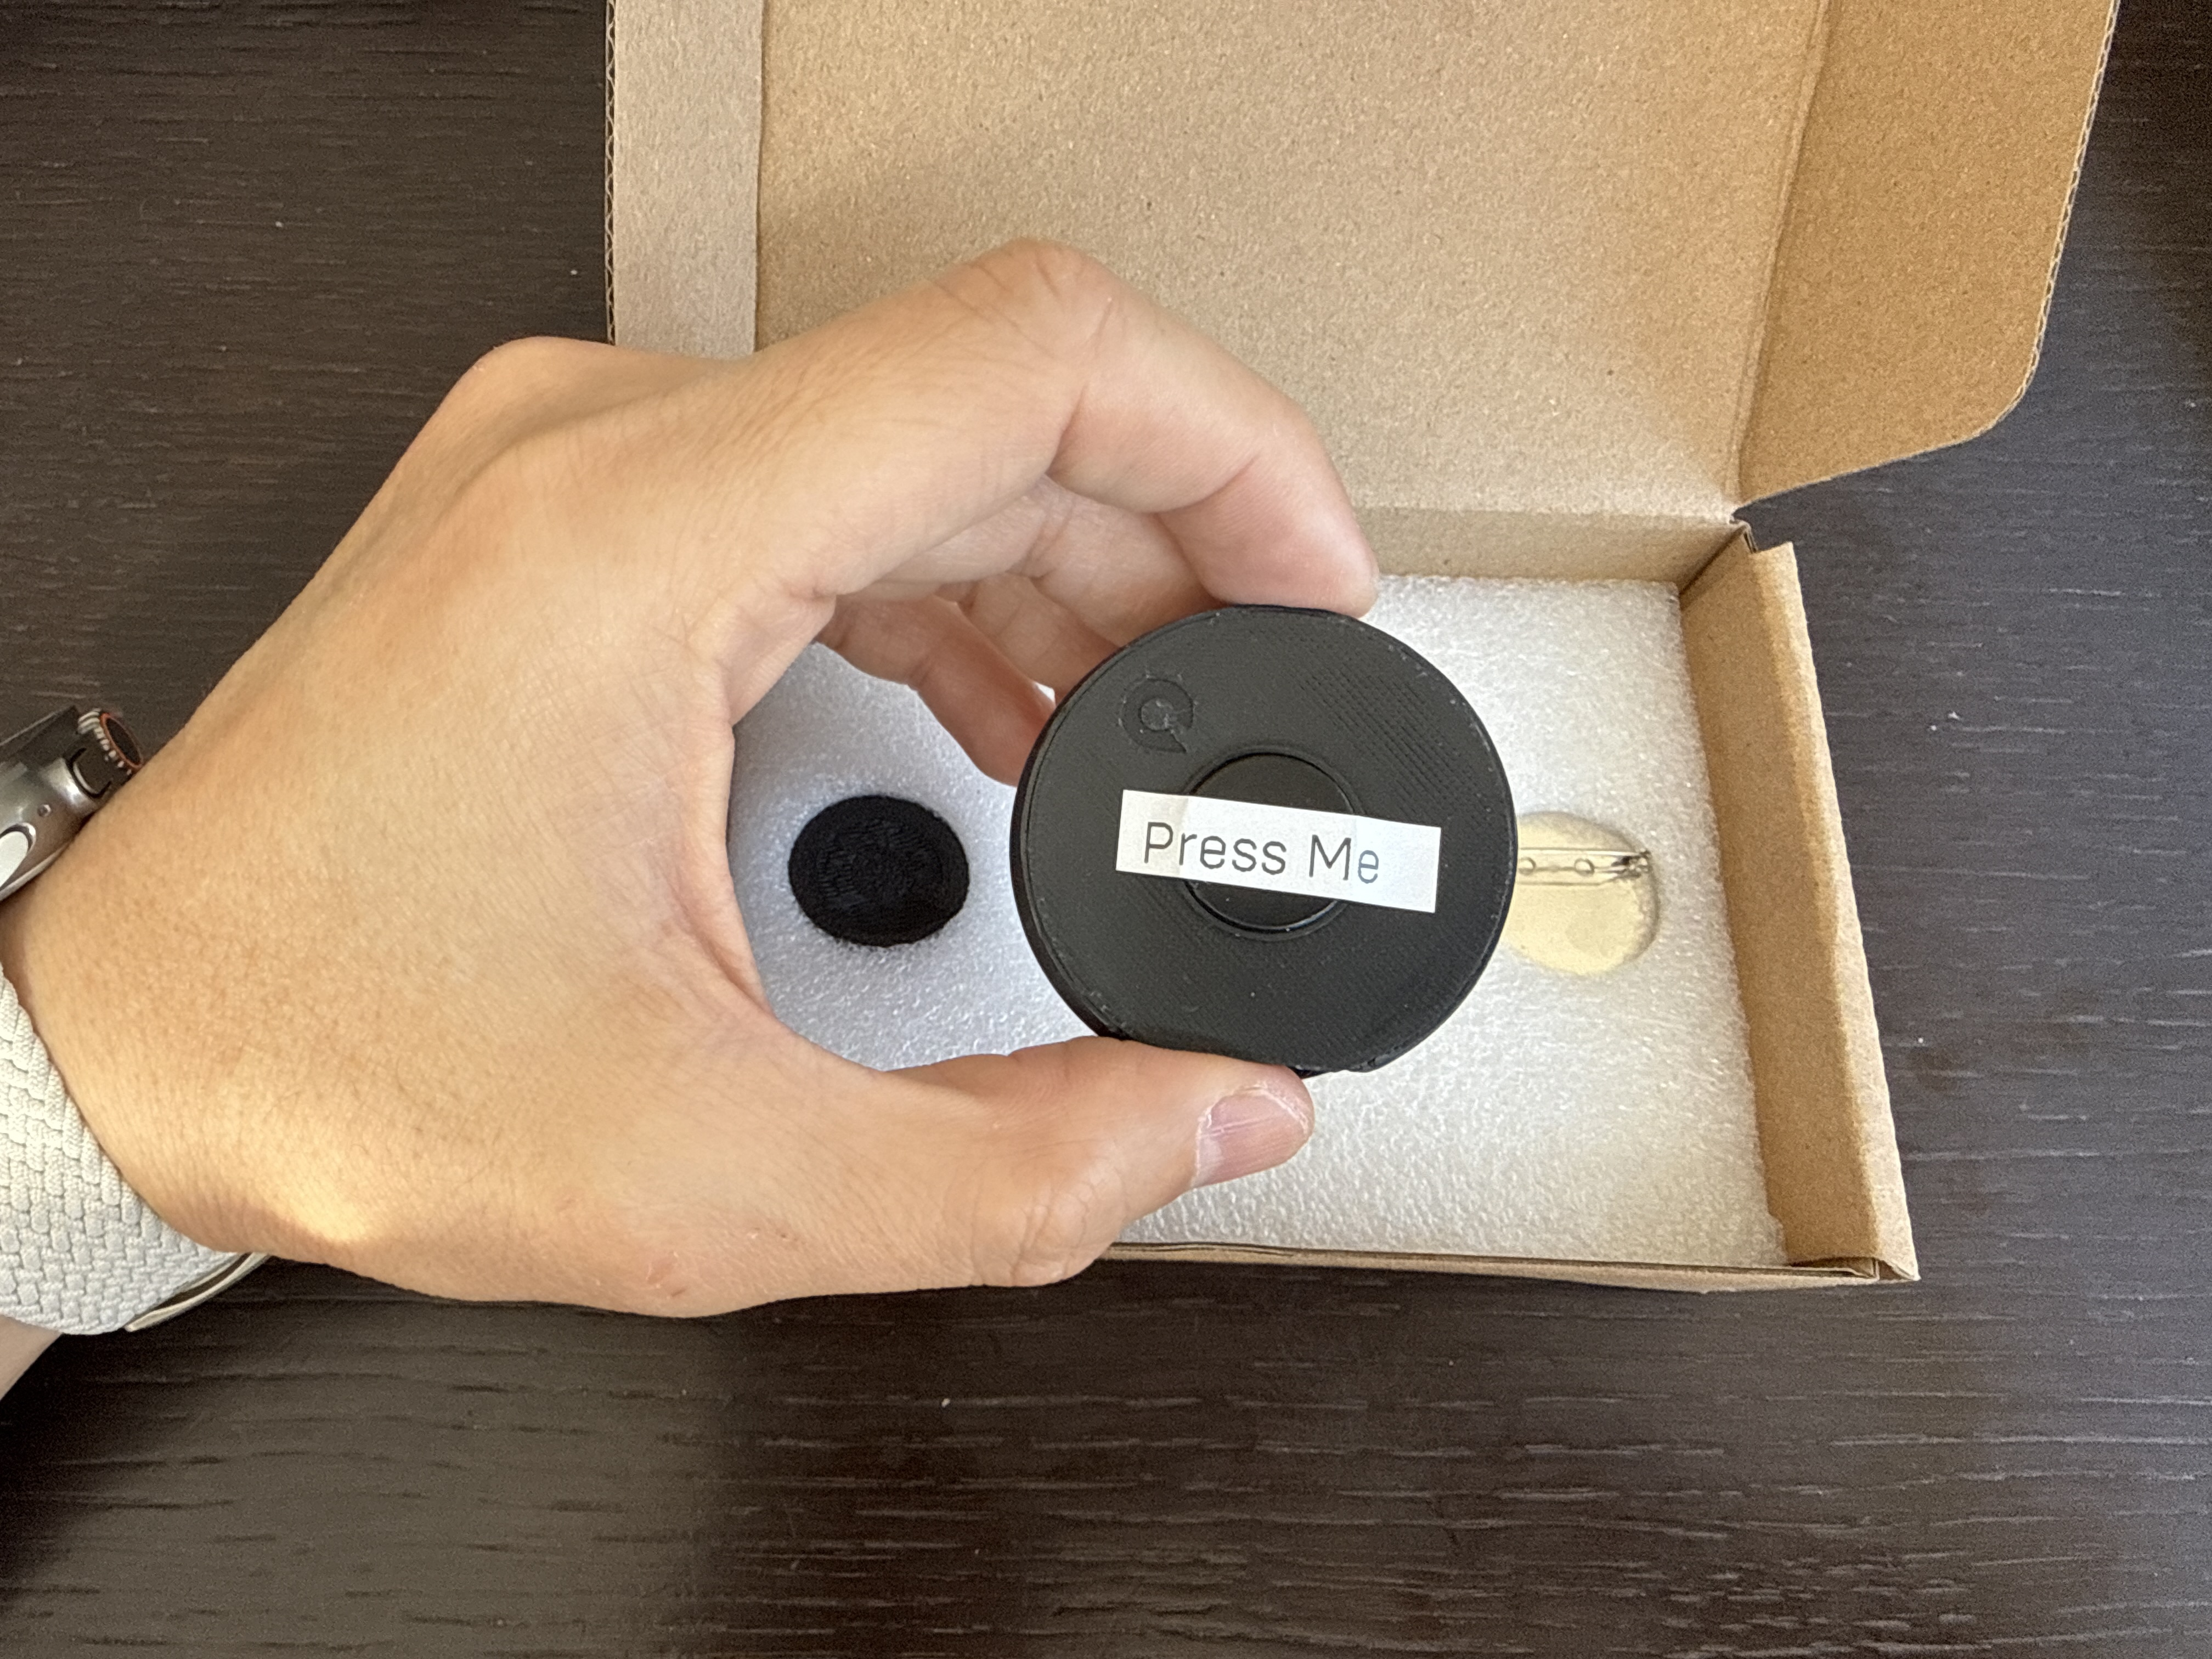
Your QPIN was shipped in Deep Sleep mode. To wake it up, click the magnetic button on the back of the case.
3
Using the App
QPIN Connect is the remote control for your pin — pair it once, then upload and swap designs whenever inspiration strikes.
Pairing your QPIN
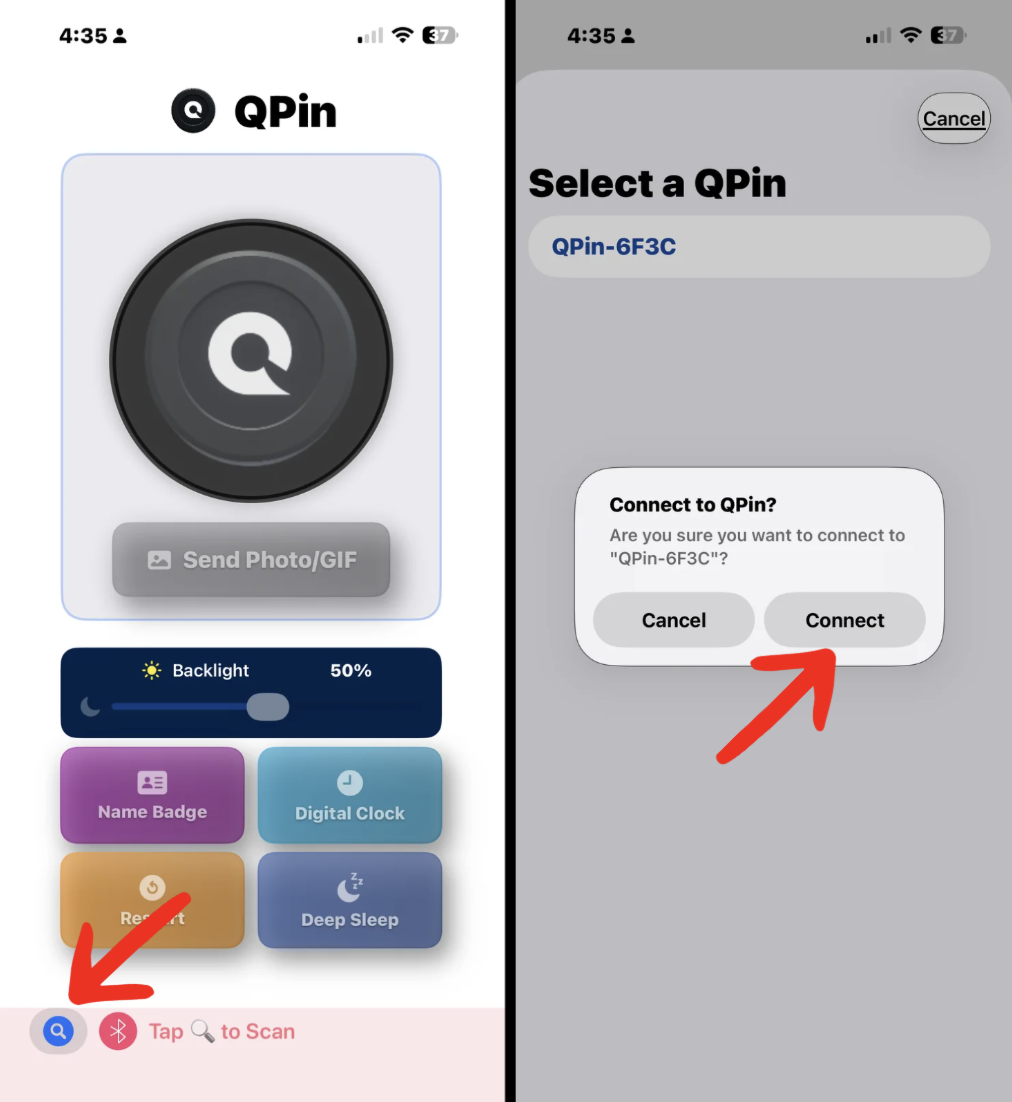
- 1Open QPIN Connect after installing — make sure your QPIN is already awake and your bluetooth is on.
- 2In the IOS app, click on the magnifying glass to find the Bluetooth of the QPIN device.
Uploading designs
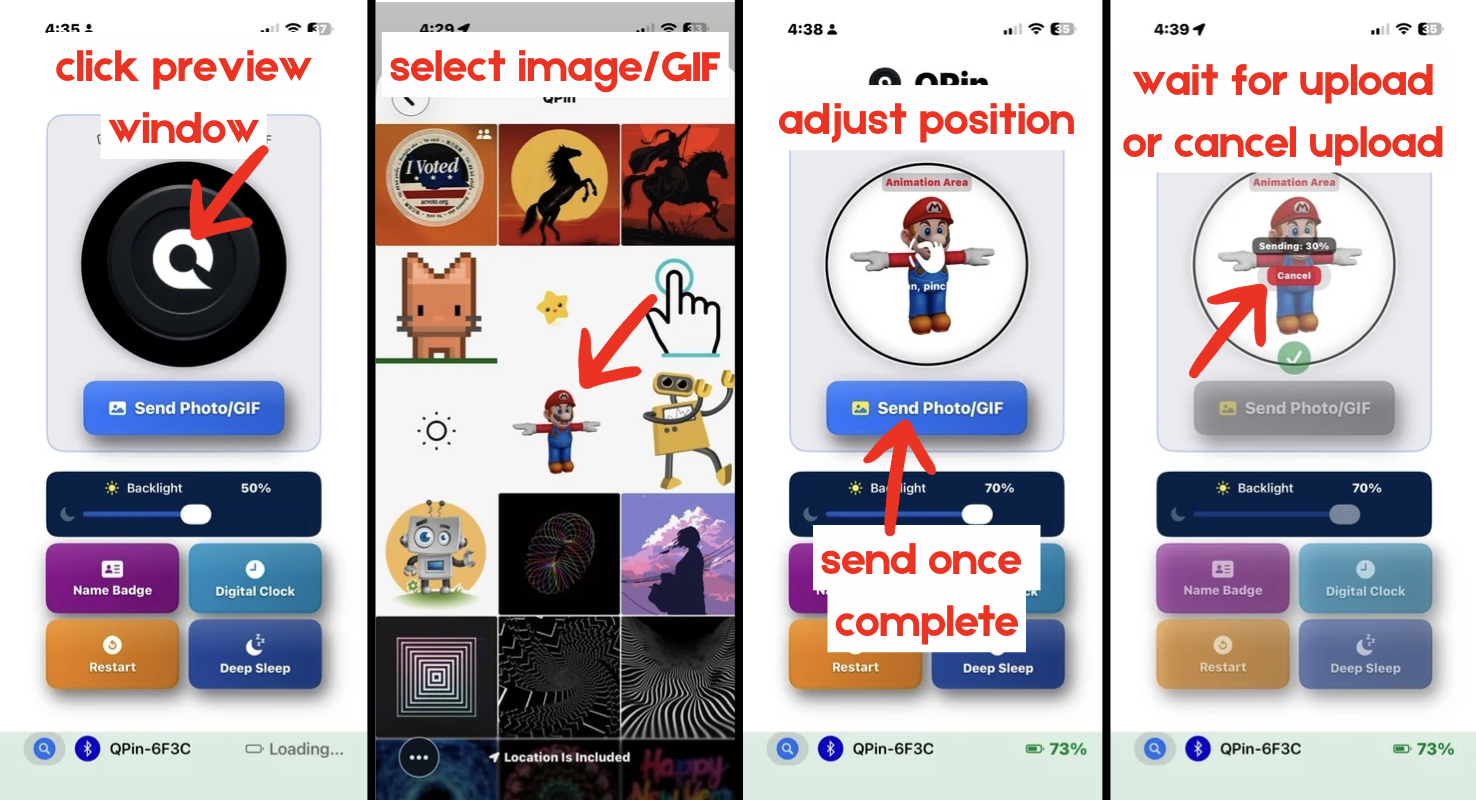
- 1Click on the QPIN in the app.
- 2Choose the photo/GIF you would like to upload.
- 3Center the photo/GIF to your liking.
- 4Click the "Send Photo/GIF" button to upload the design to your QPIN.
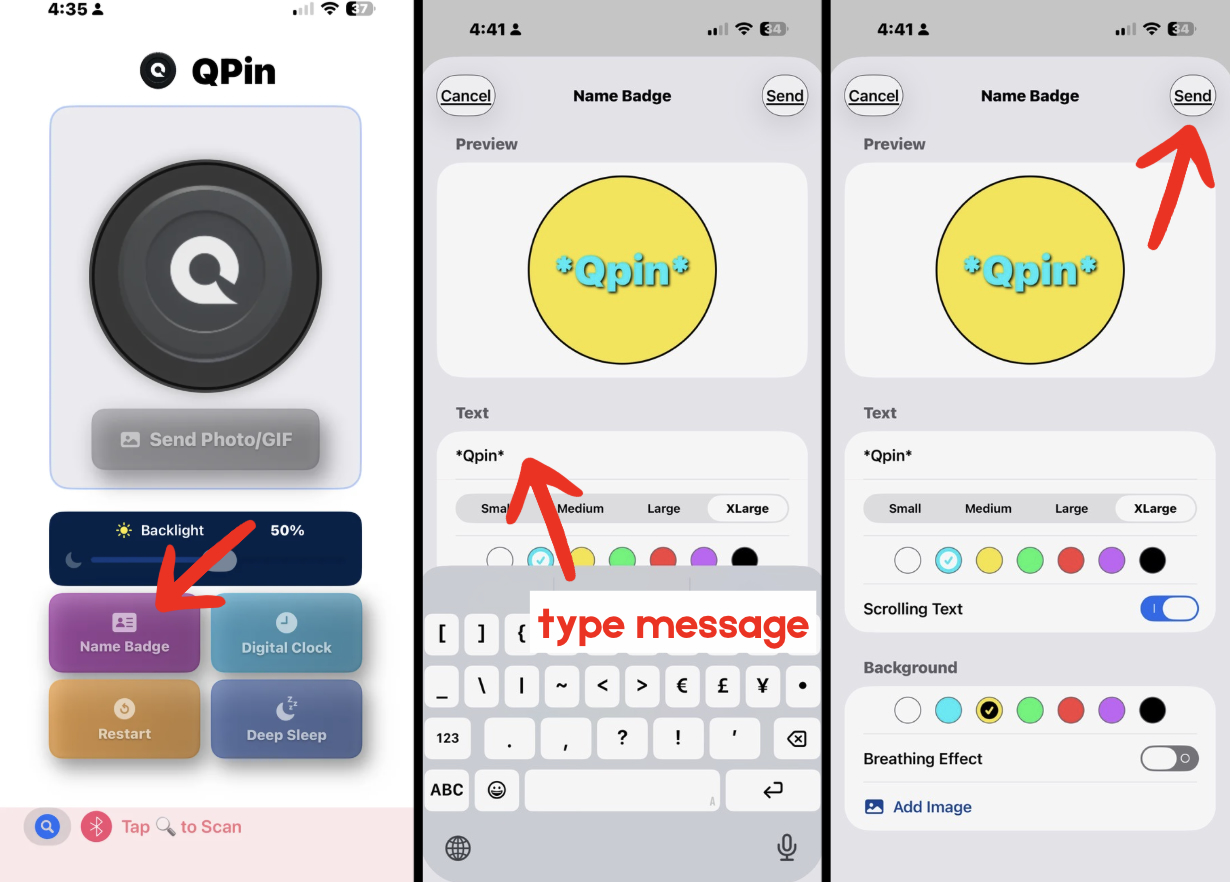
Creating a Name Badge
- 1Click on "name badge".
- 2Design the text you would like to display.
- 3Press "send" to upload the design to your QPIN.
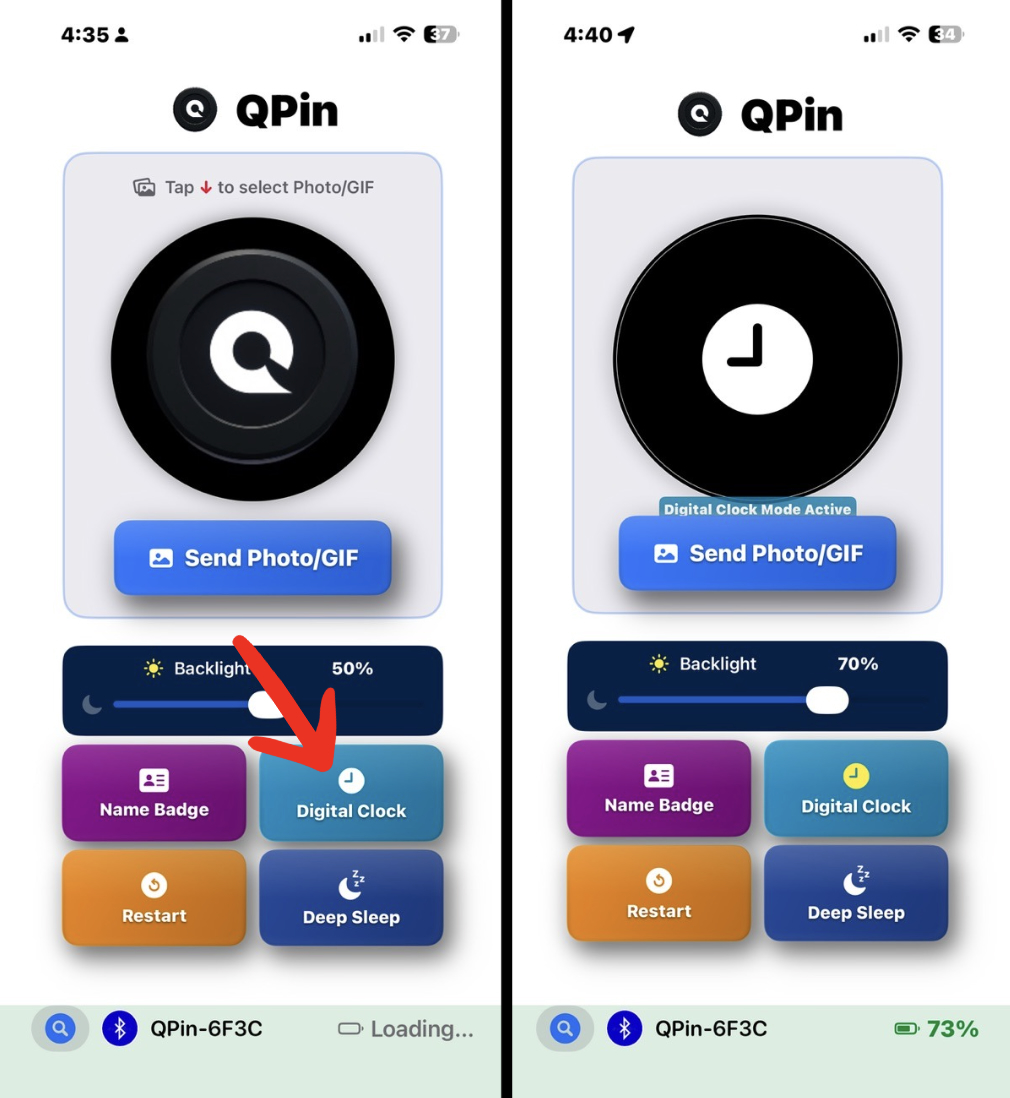
Clock mode
- 1Click on the "Digital Clock" button, and the digital clock mode will automatically upload to your QPIN.
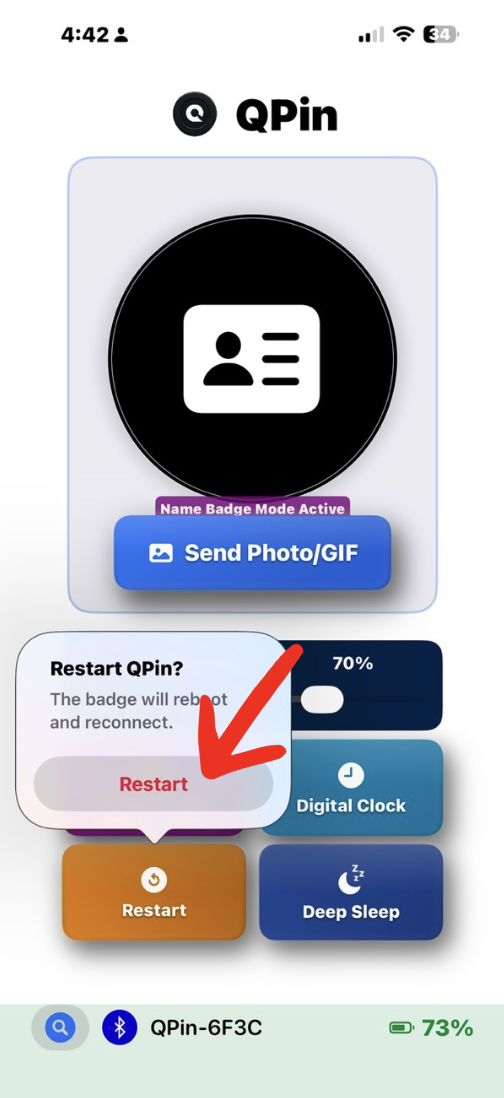
Restarting your QPIN
- 1Click on the "Restart button" and confirm that you would like to restart your QPIN.
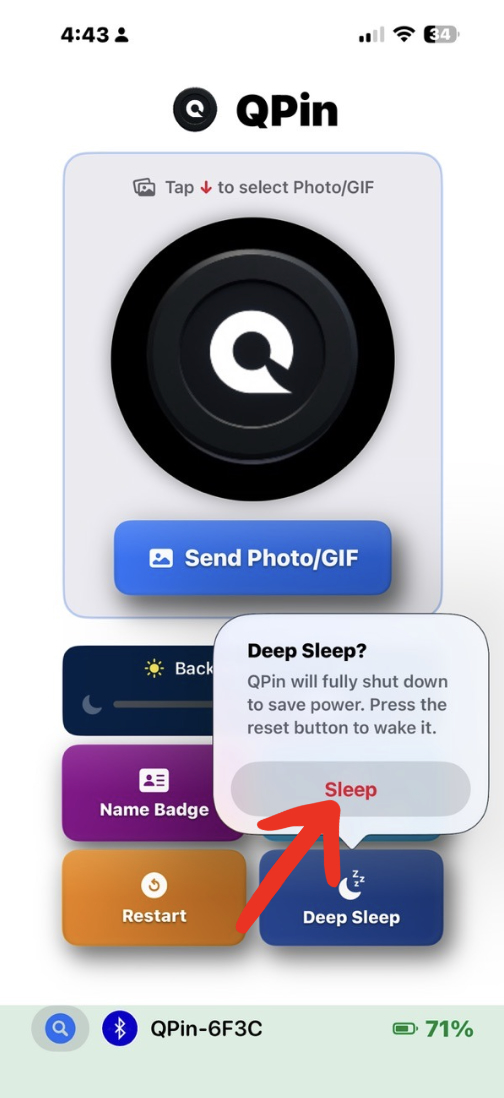
Deep Sleep
- 1Click on the "Deep Sleep" and confirm that you would like to put your QPIN in Deep Sleep mode.
- 2Users can put QPIN into Deep Sleep and save power. All functions will be shut down, including the display and Bluetooth. Users will need wake up the QPIN again to start it up once more.
Charging your QPIN
- 1Use a USB-C cable (not provided) to charge your QPIN.
- 2It will take approximately one hour to fully charge from 0 to 100%.
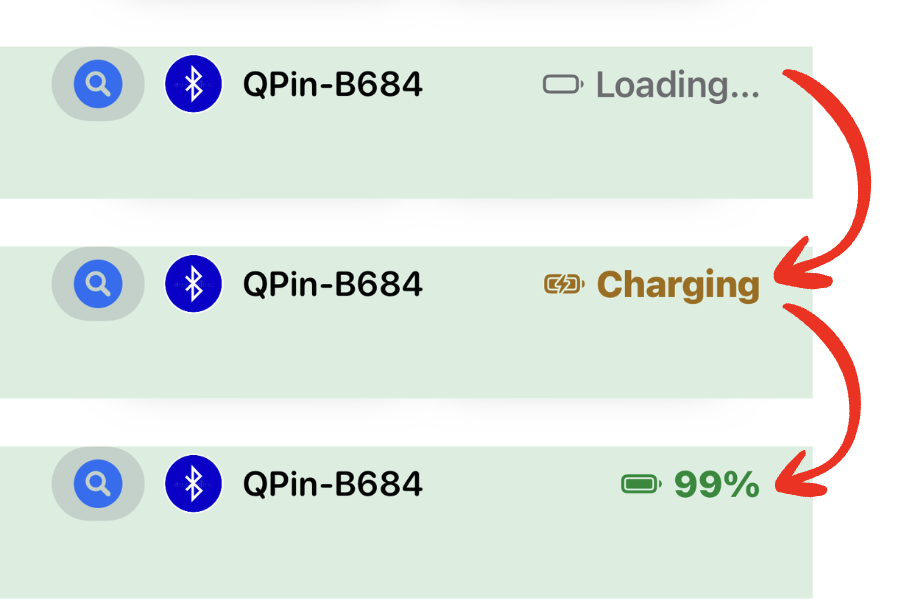
- 3Users can see the charging status from the IOS app in the lower right-hand corner.